Earlier this year, Steven & I talked about revamping our basement family room.
We honestly don't spend very much time down there (except in the winter), but that also means we haven't put a single lick of work or personalization into it since we moved in.
We haven't done any major renovations, but I'll share what we've done in little bits and pieces.
The first thing we did was to change the color concept.
The original was green walls with white trim and black accents.
It's exactly the same colors that were in place when we bought it. I even went so far as to use black accents to decorate because I had pieces in that color on-hand and it was easier than starting from scratch.
To make a long story short, we ended up changing the color concept to really brighten it up.
No more black.
White, gray and cream became our major colors to play with.
Originally, we had a black painted fireplace mantel with a black trimmed mirror over the top.
It sounds super gothic, but it wasn't really THAT bad.
Anyways, once we upgraded to a brighter space, I realized that we needed something brighter in color to hang over the mantle.
I started scouring Pinterest, and immediately set my eyes on this beauty...
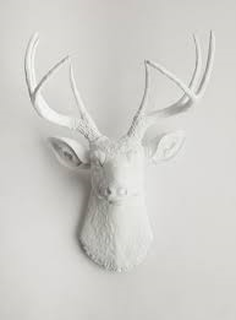
You can buy various versions of this faux deer mount online, they typically run anywhere between $100-$150 apiece, depending on size. If you want the big poppa, you've gotta shell out the bigger bucks (no pun intended).
Needless to say, I'm not the type of gal who can justify spending $100+ on a décor piece unless it's actual functioning furniture. I was bummed, but not going to give up that easily.
I decided this is totally something I could DIY (even though I'm not known to be much of a DIY person).
The first thing I did was find a cheaper faux deer head mount on Amazon.
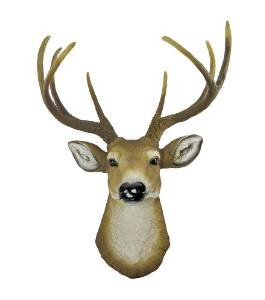
Totally terrifying.
But, I'm a pretty savvy Amazon shopper, so I was able to be patient and wait for the right pricing (plus free shipping) to come along, and snagged this little bugger for around $40.
Now, the first thing you want to do when you get your faux deer head mount is to put it on your husband's side of the bed, and wait for him to freak...
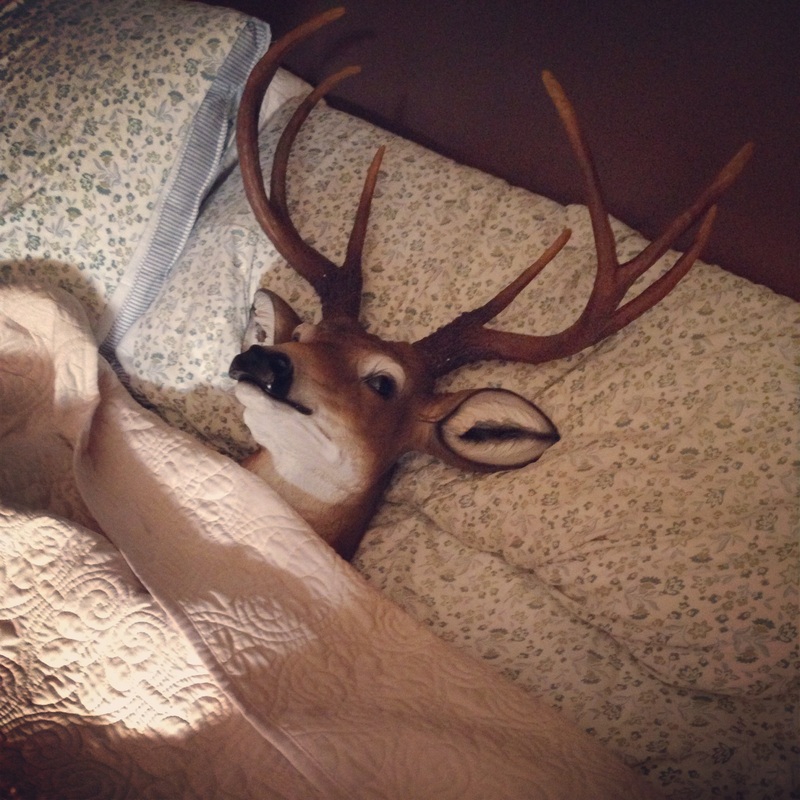
...trust me. This step is totally essential, and worth postponing your project for a few hours.
The next thing you want to do, is go to your local home improvement store and pick out your paint and primer. You will need a separate primer and paint for this project, don't try to save a step and get the paint & primer in one, trust me. I had leftover paint from when we did our accent repainting in the family room in white, so all I needed was a little can of primer.
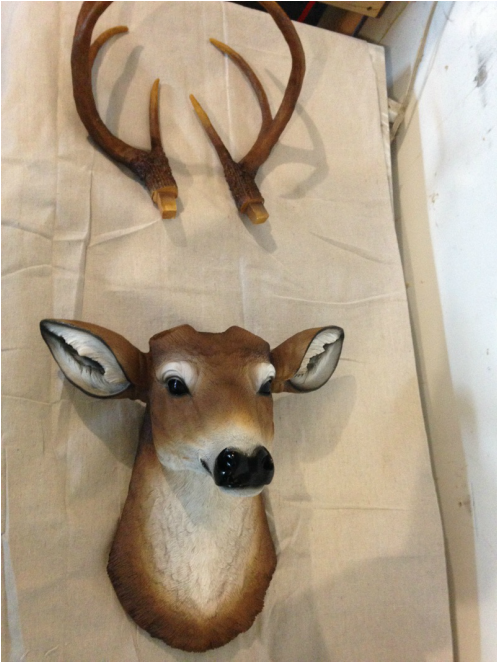
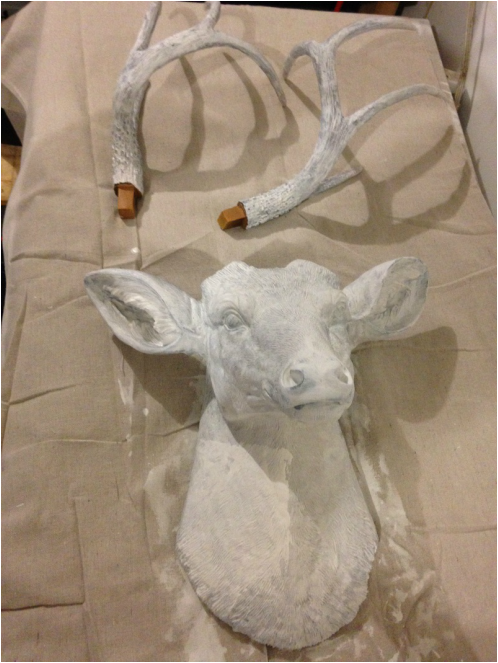
Find your painting spot, and lay a drop cloth.
Then take your deer apart...which essentially just involves removing the antlers.
Find your painting spot, and lay a drop cloth.
Then take your deer apart...which essentially just involves removing the antlers.
Next, put on your first coat of primer.
Let dry, and put on another coat.
Trust me, it takes a few coats of that thick primer to really stick in all the nooks and crannies of this big boy.
I would recommend using a mini foam brush for the smaller areas (ears, eyes, nose) and then a larger foam brush for the neck (lots of "hair" to make sure you fill in). Then use a small regular paint brush to go over everything and smooth it out.
Make sure to let each coat of primer dry completely between applications.
Then, start applying your actual paint color.
Then, start applying your actual paint color.
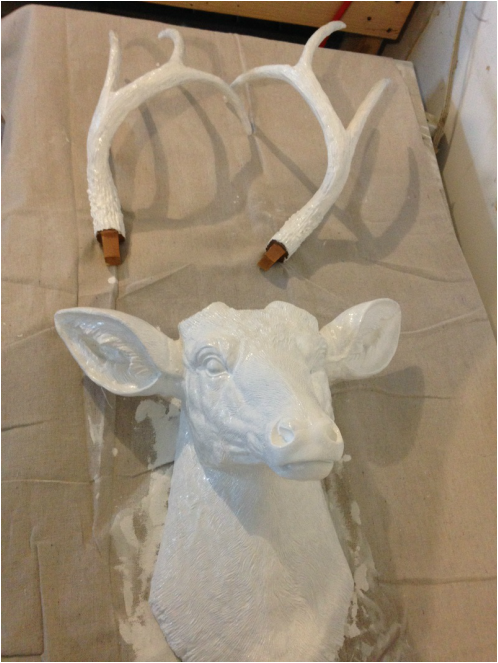
Again, you're going to need to apply multiple coats of the paint to make sure every little nook and cranny is covered in paint. Make sure to let everything dry completely in between coats. You will need to rotate the antlers to get all angles covered as well. It can be kind of tedious to do the antlers seeing as every time I thought I had every spot, I'd find another one that wasn't quite covered. Have patience friend, it will be worth it in the end.
Like I said, the intent was to hang this deer over our newly painted WHITE fireplace mantle, on it's own. However, after hanging it solo at first, it seemed a little....lonely. We decided to take a picture frame that was not being put to use and paint it the same color as our new little (big) friend to frame him into his new home.
Like I said, the intent was to hang this deer over our newly painted WHITE fireplace mantle, on it's own. However, after hanging it solo at first, it seemed a little....lonely. We decided to take a picture frame that was not being put to use and paint it the same color as our new little (big) friend to frame him into his new home.
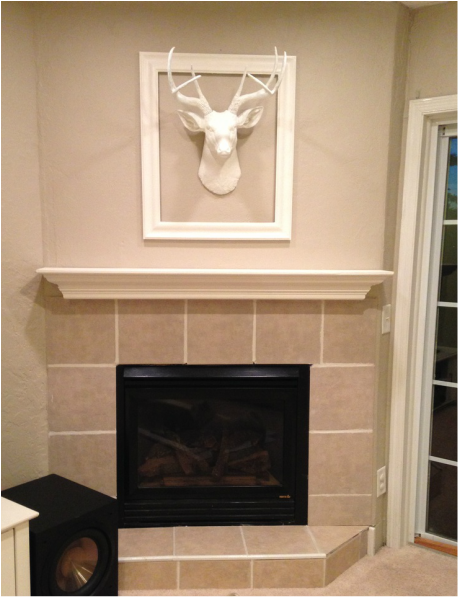
It may seem kind of blah/plain to some, but it's exactly the clean crisp look I was hoping for!
And don't worry...I full intend on dressing him with a manly x-mas scarf come the holiday season to brighten his holiday cheer,
And don't worry...I full intend on dressing him with a manly x-mas scarf come the holiday season to brighten his holiday cheer,
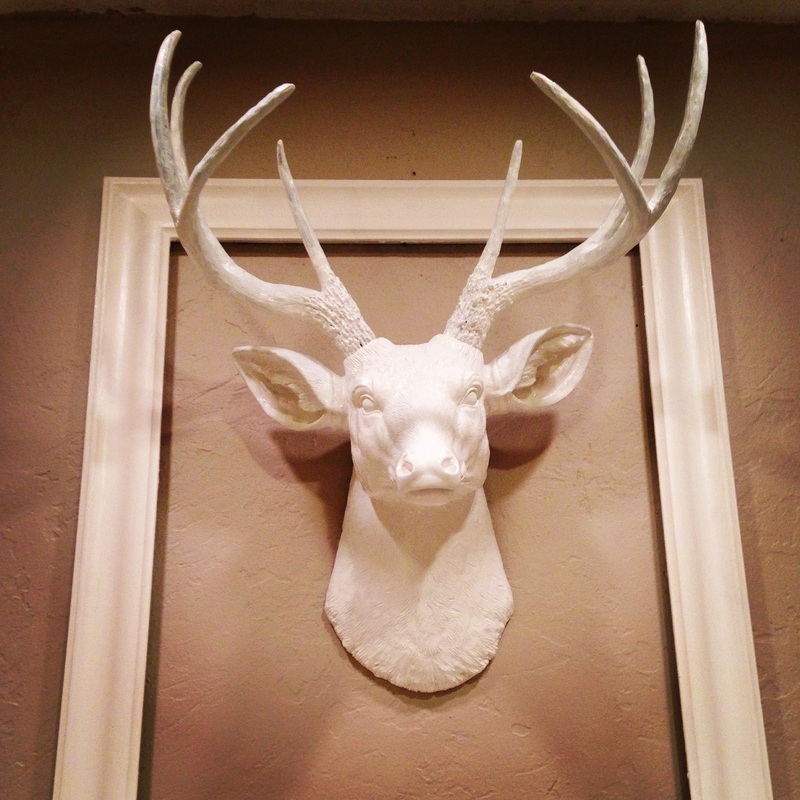
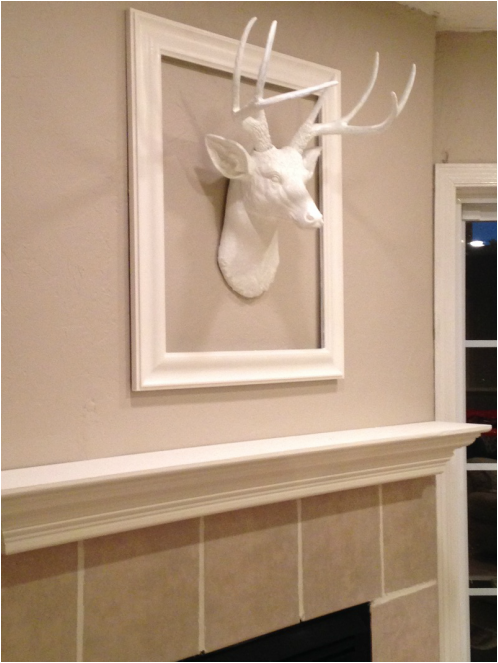
Check out this formidable creature!
Our "guard dogs" have nothing on him when it comes to burglars :)
I'll mention this side-note: The picture above is not actually the finished project.
As you can see, there are still minor spots that are a little darker than others.
Once he was up hanging out on the mantle, I whipped out my mini foam brush and went to town with touch-ups. It's a heck-of-a lot easier doing touch-ups when he's hanging than when he's laying flat on his back...or the back of his head.
I never ended up taking a FINAL final picture...so sue me, I have a 2 year old.
Ain't nobody got time for 1,000 DIY pictures in this household.
With the cost of the deer head and primer the total cost to me for this project was around $50, which was less than half the cost of buying him online already complete.
Keep in mind, that was using some items I already had on hand.
I always think it's a good idea to hoard...no, SAVE, craft materials just in case you end up needing them again in the future as it will definitely save you money in the long run!
I'll end by saying this...if I can do it, I KNOW you can.
XOXO,
Laurel


 RSS Feed